
iptv mag box settings
Have you ever felt frustrated when your streaming experience doesn’t meet your expectations? You’re not alone. Many users face issues because their device isn’t configured correctly. This is where understanding your IPTV MAG Box settings becomes crucial.
The MAG Box is a popular set-top box (STB) designed to deliver seamless streaming. Its performance heavily relies on proper setup. From ensuring the right network connection to configuring the unique MAC address, every detail matters. Without the correct settings, your device may underperform, leaving you with buffering or poor-quality streams.
This guide will walk you through the essential steps to optimize your MAG Box. Whether you’re a first-time user or looking to troubleshoot, we’ve got you covered. By the end, you’ll have a device that delivers the smooth, high-quality streaming experience you deserve.
Key Takeaways
- Proper configuration ensures optimal streaming performance.
- The MAG Box relies on its unique MAC address for setup.
- Correct network settings are essential for smooth operation.
- This guide focuses on MAG Box and related STB devices.
- Follow step-by-step instructions for seamless setup.
Understanding Your MAG Box and Its Capabilities
Choosing the right device for your streaming needs starts with knowing its features and options. The MAG Box lineup offers a variety of models, each designed to cater to different preferences and requirements. From the MAG500A to the MAG520w3 and MAG522w3, these devices come with distinct operating systems like Android and Linux, ensuring flexibility for users.
Overview of MAG Box Models and Operating Systems
The MAG500A is a compact yet powerful option, ideal for basic streaming needs. For those seeking advanced capabilities, the MAG520w3 and MAG522w3 stand out with enhanced processing power and connectivity options. These models run on Linux, providing a stable and efficient system for uninterrupted streaming.
Key Features and Built-In Applications
Each MAG Box comes equipped with built-in applications that simplify access to your favorite channels. The intuitive interface ensures smooth navigation, while customizable settings allow you to tailor the experience to your preferences. Features like high-definition streaming and multi-screen support make these devices a top choice for entertainment enthusiasts.
Preparing Your Setup Environment
A smooth streaming experience begins with the right setup environment. Proper preparation ensures your device operates at its best. Before diving into the installation, gather all necessary components and verify compatibility.
Gathering Essential Hardware Components
Start by collecting the hardware you’ll need. Ensure you have the right cables, such as HDMI or Ethernet, to connect your device. An adapter may be required if your setup involves older equipment. Don’t forget a reliable power source to keep your device running smoothly.
Reviewing Compatibility and Connectivity Requirements
A stable network is crucial for uninterrupted streaming. Check your internet speed to ensure it meets the minimum requirements. Verify the MAC address of your device to avoid connectivity issues. Compatibility with your TV or monitor is also essential for optimal performance.
When choosing between wired and wireless connections, consider your needs. Wired connections, like Ethernet, provide faster and more stable speeds. Wireless options offer flexibility but may be prone to interference. Choose the one that best suits your setup.
Finally, prepare your space for installation. Ensure all cables are organized and your device is placed in a well-ventilated area. These steps will help you create an environment ready for seamless streaming.
Connecting Your MAG Box to the Internet
Getting your device online is the first step to unlocking its full potential. A stable internet connection ensures smooth streaming and access to your favorite content. Whether you choose Wi-Fi or Ethernet, the setup process is straightforward with the right guidance.
Wi-Fi Setup vs. Ethernet Connection
Both Wi-Fi and Ethernet have their advantages. Wi-Fi offers flexibility, allowing you to place your device anywhere within range. Ethernet, on the other hand, provides faster and more stable speeds, ideal for high-quality streaming.
Setting Up Wi-Fi
- Turn on your device and navigate to the Settings menu using the remote.
- Select Network and choose Wi-Fi from the options.
- Use the on-screen keyboard to enter your Wi-Fi password. Press the button to confirm.
- Wait for the device to connect and display the confirmation message.
Setting Up Ethernet
- Connect one end of the ethernet cable to your device and the other to your router.
- Go to the Settings menu and select Network.
- Choose Ethernet and wait for the connection to establish automatically.
Troubleshooting Tips
If you encounter issues, try these steps:
- Ensure your Wi-Fi password is correct.
- Check if the ethernet cable is securely connected.
- Restart your device and router.
| Connection Type | Pros | Cons |
|---|---|---|
| Wi-Fi | Flexible placement | Prone to interference |
| Ethernet | Fast and stable | Requires physical cable |
By following these steps, you can ensure a reliable internet connection for your device. Whether you prefer the convenience of Wi-Fi or the stability of ethernet, your streaming experience will be seamless.
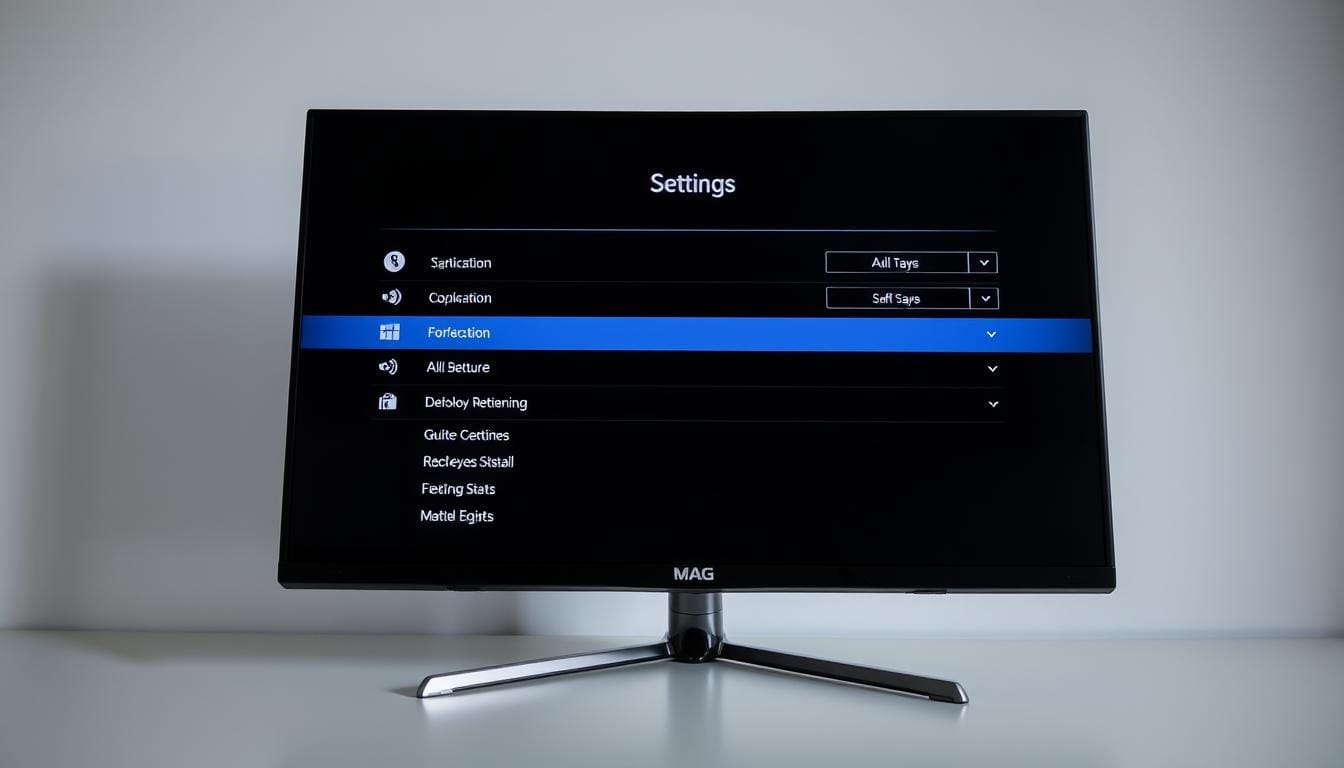
Navigating the MAG Box Settings Menu
Mastering your device’s settings is the key to unlocking its full potential. The system settings are where you can customize your experience to suit your preferences. Whether you’re a beginner or an advanced user, understanding how to navigate the main menu is essential.
Accessing System Settings and Main Menu Options
To access the system settings, start by pressing the Home button on your remote. This will open the main menu, where you’ll find a variety of options. Use the arrow keys to navigate through the menu and select Settings.
Once inside the settings, you’ll see a clear layout with categories like Network, Display, and System. Each category contains specific options that allow you to fine-tune your device. For example, the Network section lets you adjust your internet connection, while Display controls resolution and screen settings.
Navigating the menu is straightforward. Use the remote to highlight your desired option and press OK to select it. For advanced users, exploring deeper settings can enhance performance and functionality.
Understanding how to navigate the main menu and access the system settings ensures a smooth experience. It also prepares you for further customization, making your device truly tailored to your needs.
Customizing iptv mag box settings
Personalizing your streaming setup can make all the difference in your viewing experience. To get started, you’ll need to configure the portal name, URL, and MAC address. These steps ensure your device connects seamlessly to your provider’s service.
Configuring the Portal Name, URL, and MAC Address
Begin by accessing the system settings on your device. Navigate to the Portal Setup section, where you’ll enter the details provided by your provider. Here’s how:
- Enter the portal name as specified by your provider.
- Input the portal URL accurately to ensure proper connectivity.
- Locate the MAC address on your device or packaging and enter it in the designated field.
Accuracy is crucial. Double-check each entry to avoid activation issues.
Saving and Restarting Your Portal for Activation
Once all details are entered, save the changes. Navigate to the Save and Restart option to activate your portal. This step ensures your device registers with the provider’s network.
“A successful restart confirms your device is ready for streaming.”
If the portal doesn’t activate, try these troubleshooting steps:
- Verify the portal URL and MAC address for errors.
- Ensure your internet connection is stable.
- Restart your device and router.
| Step | Action | Outcome |
|---|---|---|
| 1 | Enter portal details | Device connects to provider |
| 2 | Save and restart | Portal activates |
| 3 | Troubleshoot if needed | Resolve connectivity issues |
By following these steps, you’ll ensure a smooth setup process. Customizing your portal settings is the key to unlocking a seamless streaming experience.
Adjusting Time, Display, and Network Options
Optimizing your device’s performance involves fine-tuning essential settings for a seamless experience. From ensuring accurate time synchronization to adjusting screen resolution, these tweaks can enhance usability and functionality.

Setting NTP Server and Time Zone
Accurate time settings are crucial for proper device operation. To set the time zone and synchronize with an NTP server, follow these steps:
- Navigate to the Settings menu and select System.
- Choose Time and set your location for the correct time zone.
- Enter the NTP server address (e.g., pool.ntp.org) for synchronization.
- Save changes and restart your device to apply the settings.
Double-check the server details to ensure accurate time updates.
Changing Graphic Resolution and Screensaver Settings
Adjusting the screen resolution ensures your video displays correctly. Here’s how to make these changes:
- Go to the Settings menu and select Display.
- Choose the appropriate resolution for your screen size and preferences.
- Navigate to the Screensaver section to customize timing and appearance.
- Save your settings to apply the changes.
Selecting the right resolution prevents display issues and enhances visual quality.
By adjusting these settings, you’ll ensure your device operates smoothly and meets your viewing needs. Always save changes and restart your device to apply updates effectively.
Configuring Access Control and User Security
Securing your streaming setup is as important as optimizing its performance. Without proper access control, your device and content could be vulnerable to unauthorized use. This section guides you through essential steps to protect your system and ensure a safe experience.
Creating and Managing Passwords
Start by setting up a strong password for your system setting. This prevents unauthorized users from making changes to your device. Follow these steps:
- Navigate to the Security section in your settings menu.
- Choose Password Setup and enter a secure password.
- Confirm the password and save your changes.
Make sure your password is unique and not easily guessable. Regularly updating it adds an extra layer of protection.
Configuring User Names and Restricting Access
Assigning a specific name to each user helps manage permissions effectively. Here’s how to configure user profiles:
- Go to the User Management section in your settings.
- Add a new user and assign a unique name.
- Set permissions to restrict access to sensitive settings.
This ensures only authorized users can make changes to your system.
Enabling or Disabling Security Features
Your service may offer additional security features. These can be turned on or off based on your needs. To adjust these settings:
- Access the Security menu in your system settings.
- Toggle features like two-factor authentication or parental controls.
- Save your changes to apply the updates.
These features provide extra protection for your device and content.
Safely Restarting Your System
After making changes, it’s important to restart your device properly. This ensures all updates are applied correctly. Here’s how:
- Save all changes in the settings menu.
- Select the Restart option from the main menu.
- Wait for the device to reboot and confirm the changes.
A proper restart prevents issues and keeps your system running smoothly.
By following these steps, you’ll enhance the security of your streaming setup. Protecting your device ensures a reliable and uninterrupted experience.
Advanced System Settings and Maintenance
To ensure your device stays up-to-date and performs at its best, exploring advanced settings is essential. These features not only enhance functionality but also keep your streaming experience smooth and reliable. From firmware updates to interface customizations, this section guides you through the process.

Firmware Updates and Auto-Update Options
Keeping your device’s firmware updated is crucial for optimal performance. Updates often include bug fixes, security patches, and new features. Here’s how to manage them:
- Navigate to the Settings menu and select System Updates.
- Check for available updates and follow the on-screen instructions to install them.
- Enable Auto-Update to ensure your device stays current without manual intervention.
If you prefer manual control, disable the auto-update feature in the same menu. This allows you to review updates before installation.
Remote Control and Interface Customizations
Customizing your remote and interface can make navigation more intuitive. Start by adjusting the remote’s sensitivity in the settings menu. You can also remap buttons for quicker access to frequently used features.
For the interface, explore options like theme changes, font size adjustments, and layout preferences. These tweaks can enhance usability and make your streaming experience more enjoyable.
Routine Maintenance Tips
Regular maintenance ensures your device runs smoothly. Here are some recommendations:
- Clear cache and temporary files to free up storage.
- Restart your device periodically to refresh the system.
- Check for software updates at least once a month.
Troubleshooting Common Issues
If you encounter problems during updates or streaming, try these steps:
- Ensure your internet connection is stable.
- Restart your device and router.
- Contact your iptv service provider for support if issues persist.
By following these steps, you’ll keep your device in top condition and enjoy a seamless streaming experience.
Troubleshooting Common Setup Issues
Even with the best setup, occasional issues can disrupt your viewing experience. Whether it’s connectivity problems, display glitches, or remote control malfunctions, these challenges are common but often easy to resolve. This section provides practical solutions to help you get back to seamless streaming.
Resolving Connectivity and Display Problems
If your device isn’t connecting properly, start by checking your network. Ensure your Wi-Fi or Ethernet cable is securely connected. Restart your router and device to refresh the connection. If the issue persists, verify the app settings to ensure they’re configured correctly.
For display problems, adjust the resolution in the settings menu. If the screen appears distorted, try switching to a different HDMI port or cable. Note: Always double-check your TV’s compatibility with the device’s output settings.
Addressing Remote Functionality Concerns
If your remote isn’t working, first replace the batteries. Ensure there’s no obstruction between the remote and the device. For advanced troubleshooting, check if the app or system updates are causing conflicts. Restarting the device often resolves these issues.
Note: If the remote still doesn’t respond, consider resetting it to factory settings. This can restore functionality and eliminate any software glitches.
“A simple restart can fix most connectivity and remote issues.”
When troubleshooting, always test each solution step by step. If problems persist, contact your service provider for further assistance. They can help diagnose and resolve more complex issues.
Conclusion
Setting up your streaming device correctly ensures a seamless viewing experience. This guide has walked you through the essential steps, from connecting to the internet to customizing your portal. By following these instructions, you can avoid common issues and enjoy uninterrupted streaming.
Remember, proper configuration is key to maximizing your device’s performance. If you encounter any problems, refer back to this guide for troubleshooting tips. Regular maintenance, like updating firmware and checking connections, will keep your setup running smoothly.
Take the time to apply these settings and enjoy the full potential of your iptv service. A well-configured device means fewer interruptions and more entertainment. Now that you’re equipped with the knowledge, it’s time to sit back, relax, and start streaming!